240SX Summer Update 2017
- Frank Oles

- Jul 15, 2017
- 3 min read

Right now, I am basking in the joy and freedom of having a special car again to tinker with and take to car shows. Although the body of this 240 was delightfully rust-free, that doesn't mean there isn't a very long list of items to sort out and improve. But at least we don't have to strip this car down to a bare shell and start over!

One of the first things I like to do with a new car is check the hidden areas for rust. Prime among them is the door sill pocket that is directly behind the front wheels. The tires like to kick up dirt and leaves, which helps moisture hang around longer instead of draining. Eventually it will start to rust. Luckily, because this car came from dry climates, the sills were rust free. A little clean up and a routine inspection should keep this area clean and rust free.

Luckily, this car is a 1992 model, which not only means a swanky twin cam engine, but also it came from the factory with R134 refrigerant for the air conditioning (as opposed to the older R12 refrigerant). A quick top up, along with some added oil for the compressor and some dye to test for leaks, and the old girl was blowing cold once again.

One thing I noticed on the test drive of the car was how much deflection there was in the drivetrain between pressing on and off the throttle. Engine and transmission mounts were the culprits. As you can see from this image, the engine mount on the passenger side was completely separated (this should be one unit). I decided to order firmer NISMO engine mounts. For the transmission mount, it was a slightly different design, with voids - I elected to fill those voids with polyurethane to create an even stiffer mount that would help eliminated forward/backward momentum. The difference was immediately noticeable. There is slightly more vibration in the interior of the car, but it does not bother me. I actually think that cars with stiffer mounts actually feel more powerful and responsive.

Look at this mess! The 240 was suffering from several warning lights on the dashboard - battery and brake lights. Turns out, they are both on the same circuit. Also, the speedo in the instrument cluster was not working (a common problem) and the dashboard had several age-related cracks (don’t we all). So out the dashboard came... 3 different times! I also elected to replace the cracked windshield, so I had the windshield removed first to make it easier to work in the dash area. I sourced a new dash off eBay in Oregon, a new instrument cluster from another eBay seller, as well a new OEM weatherstripping for the windshield. I was quite relieved when all this went back together.

The new instrument cluster is in! And then back out. And then back in... again. Fun fact: even though the instrument clusters for the 89-91 SOHC models look very similar to the 92-94 DOHC models, they are in fact different. The tach will not interchange! So even though the cluster I purchased looked like a DOHC model, the tach was from the earlier model - it had been swapped out by a previous owner. So after I put my new/used eBay cluster in, I had a working speedo but no tach. Sweet frustration! So I had to pull the cluster out again and swap in my old, working tach before I finally had a 100% working unit. A little persistence, and some Google searching, goes a long way.

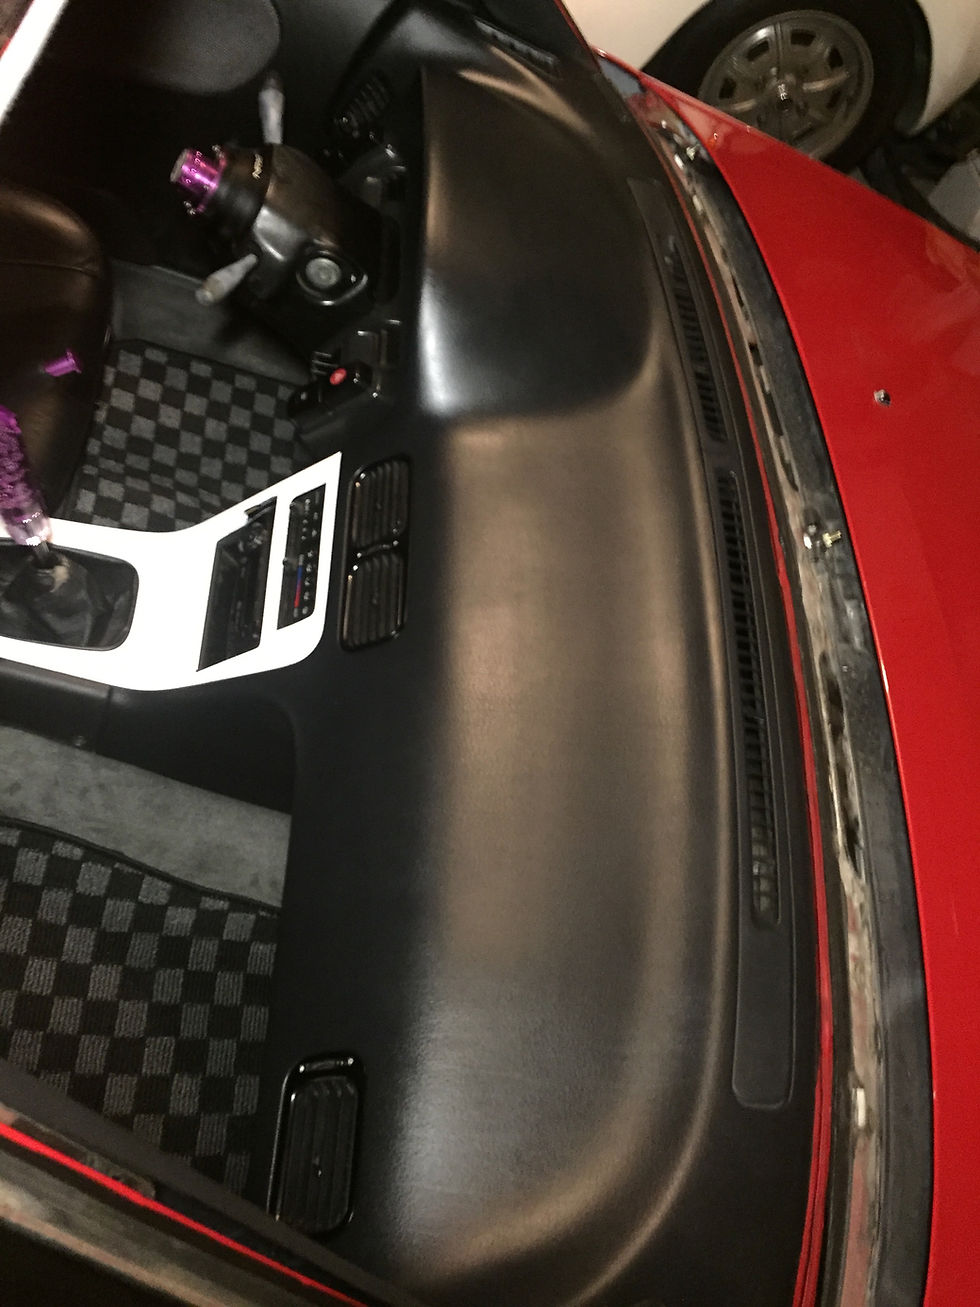
Nothing freshens an interior like a clean, crack-free dashboard. It took A MONTH of back and forth with the eBay seller in Oregon to get this. Shipping an item this large is an expensive pain, but worth it in the end. Together with some fancy checkerboard floor mats and the interior is beginning to take shape.

And... the cherry on top of the sundae. When I saw this plate was available, I had to get it.


Comments